The Holiday season brings out tidings, good cheer and festive decor. Sparkling lights, adorned trees, magnificent bells and so much more!
All of it can feel so magical, although there’s nothing quite like the snow globe. The Nativity scenes, city skylines, and memorable scenes you might see within this little glass world all transport us back to our childhood memories.
This year, we’ve all made it through a lot, so we wanted to bring this magical gift, made easy, right to you!
Learn how to make a mess-free Wish snow globe in with these four simple steps.
All the Materials You Need & More
Optional Decor: Christmas Tape, glitter, or Twine
Step-by-Step Instructions for Success
Step 1:
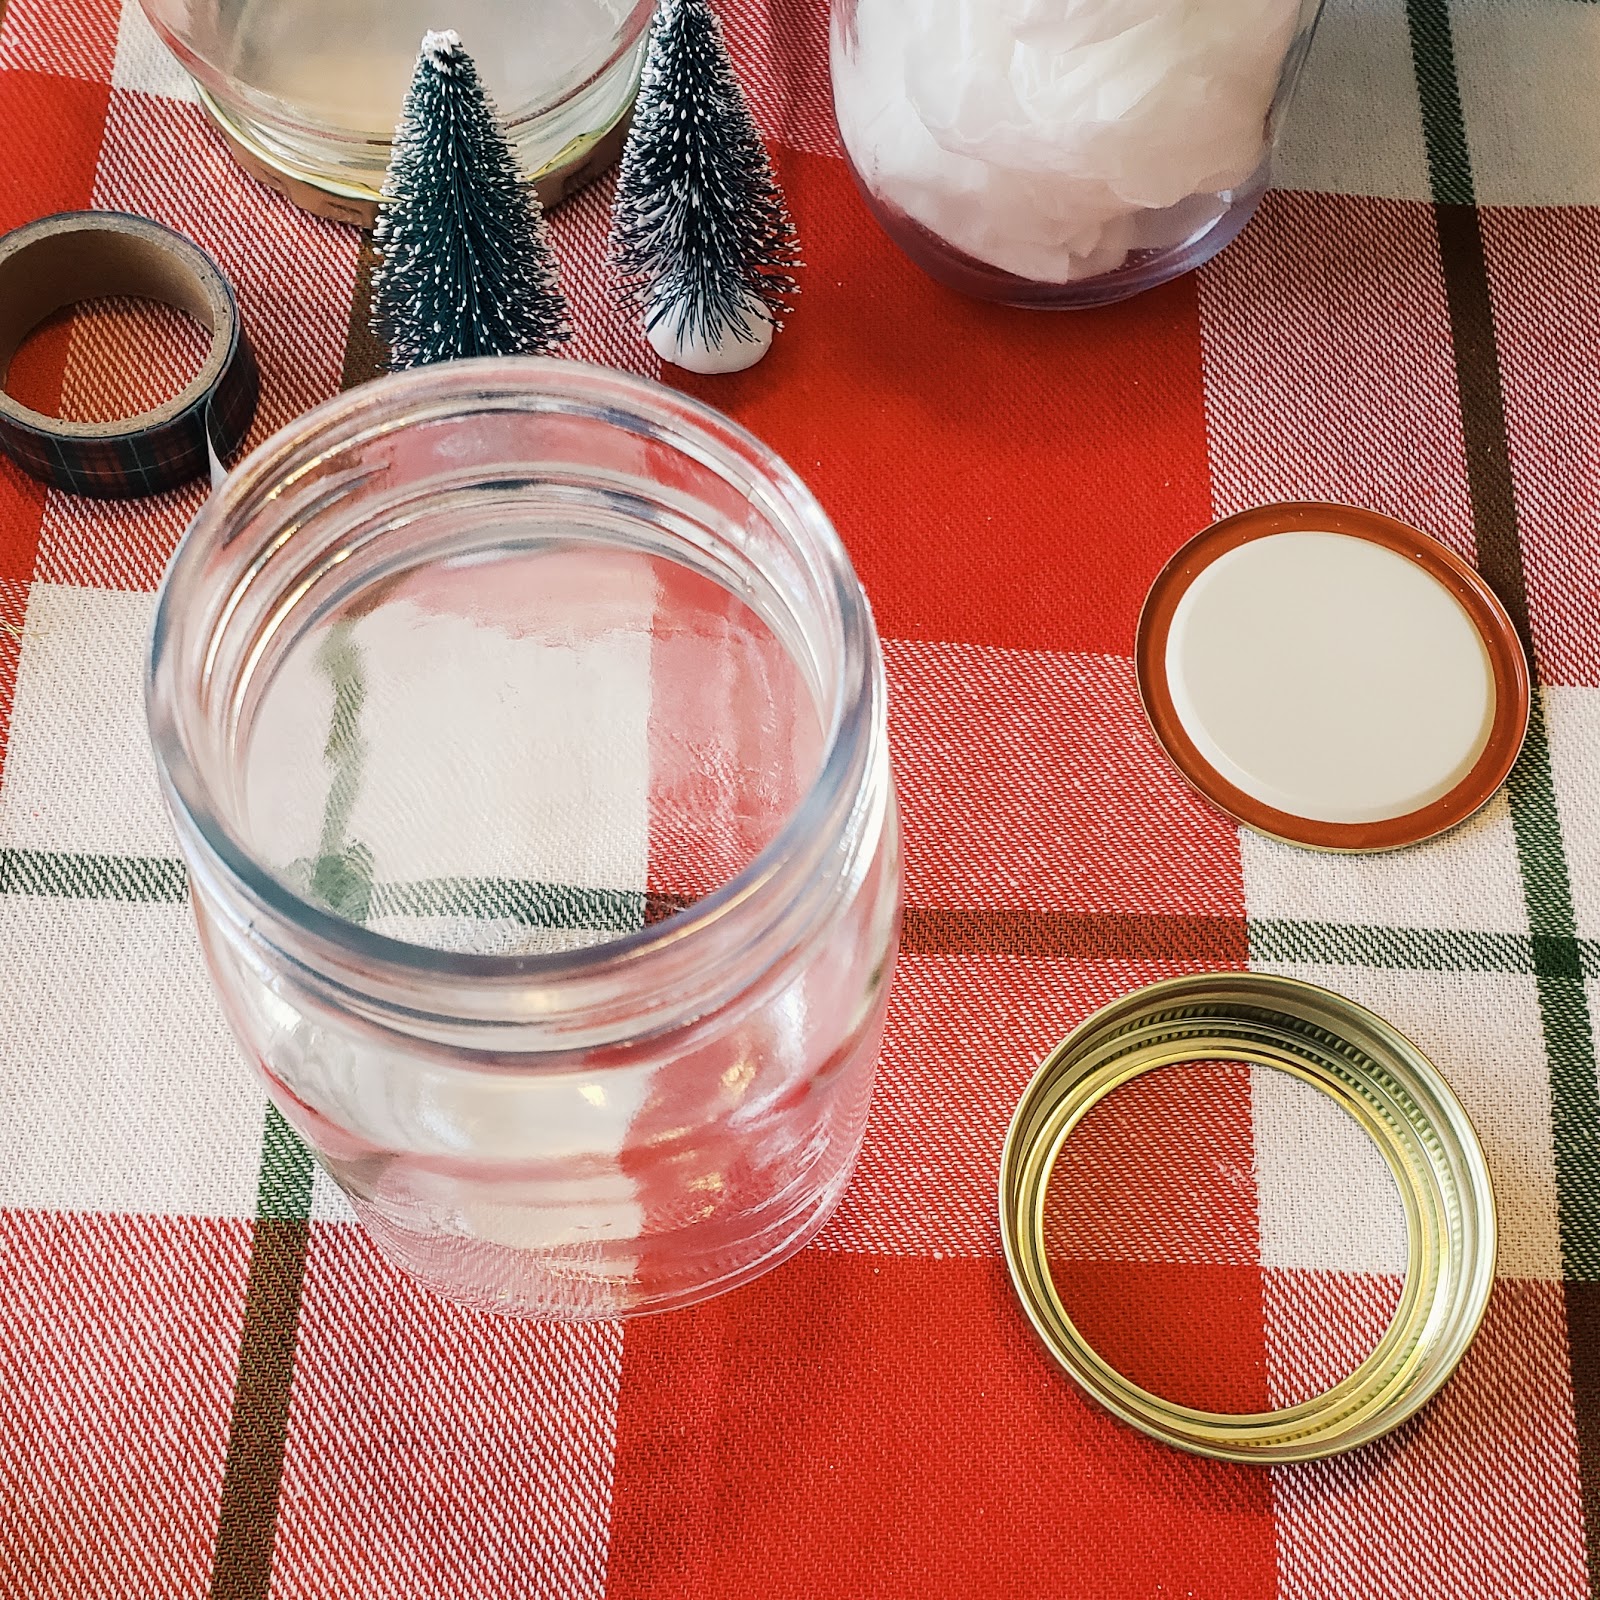
Twist off the top of the mason jar lid. The ring around the lid will be loose; it’s normal! Put the glass jar and lid aside.
Step 2:
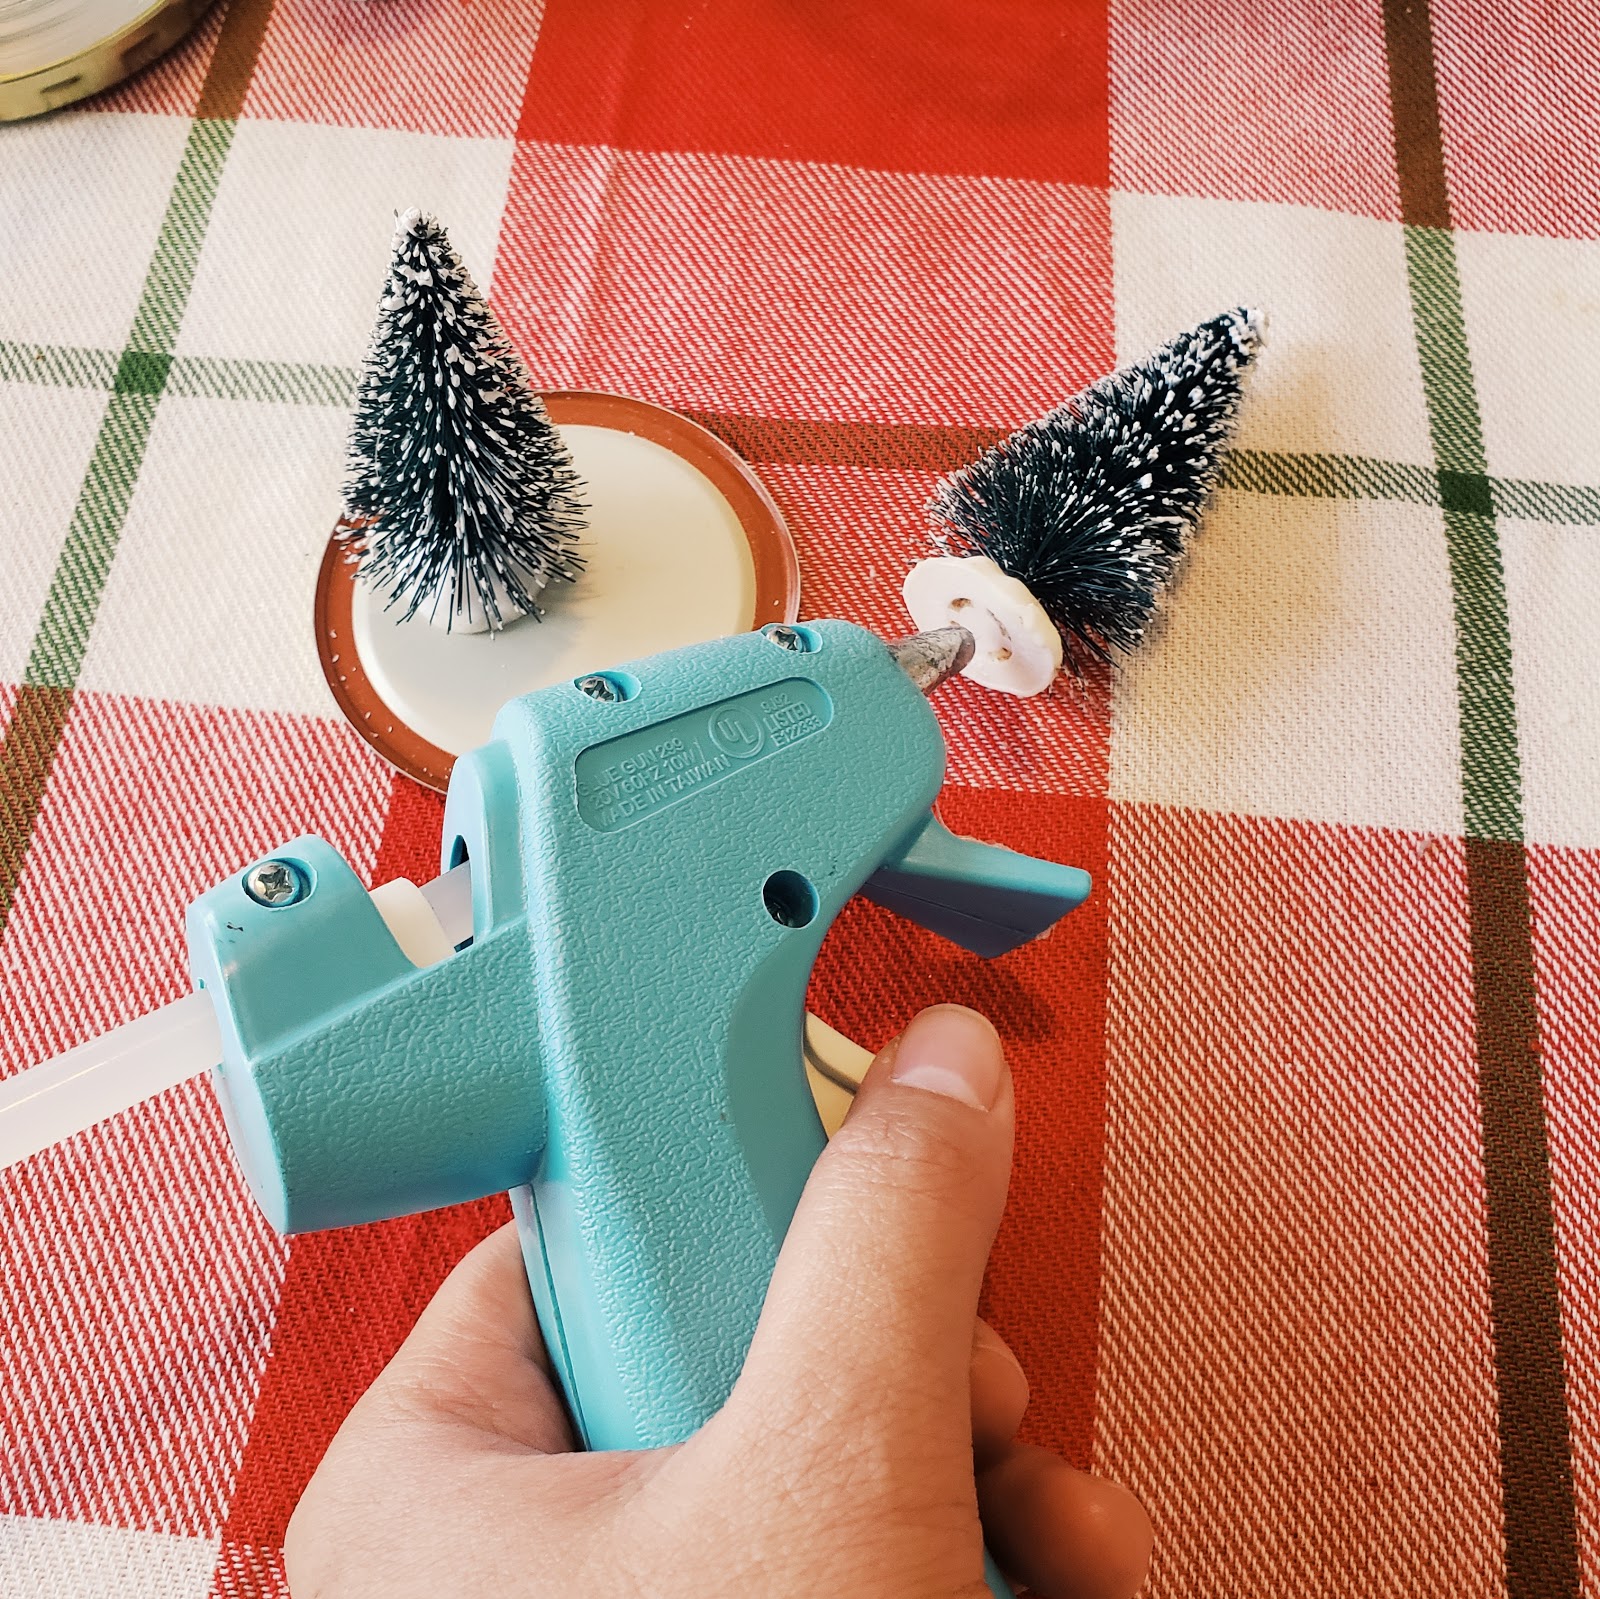
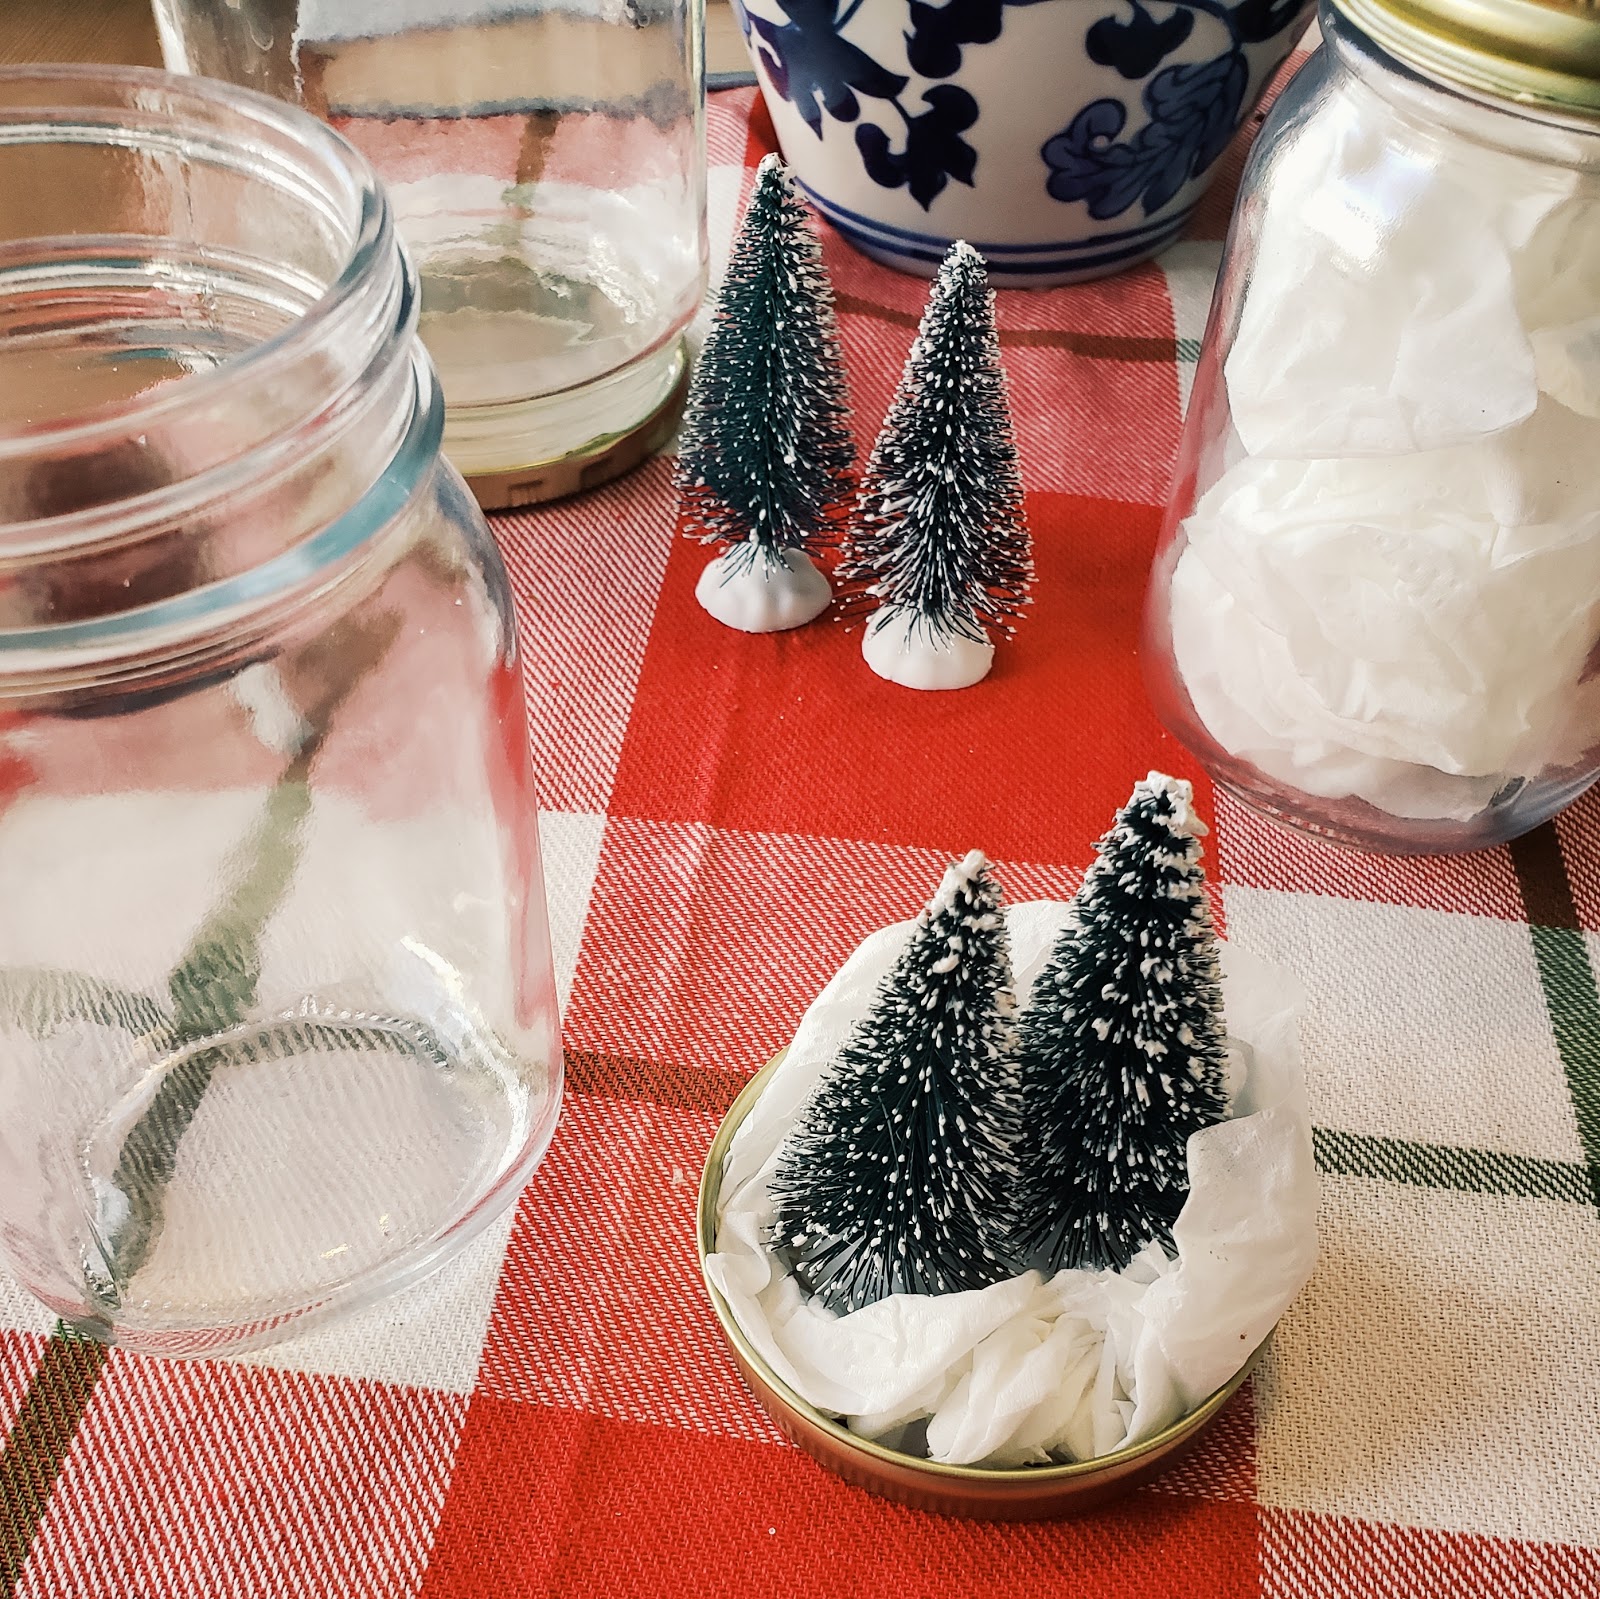
Plugin the loaded hot glue gun to heat up. Apply hot glue to the mini tree’s bottom and adhere to the mason jar lid’s underside. Repeat step for a second tree if you’d like to showcase two.
Step 3:
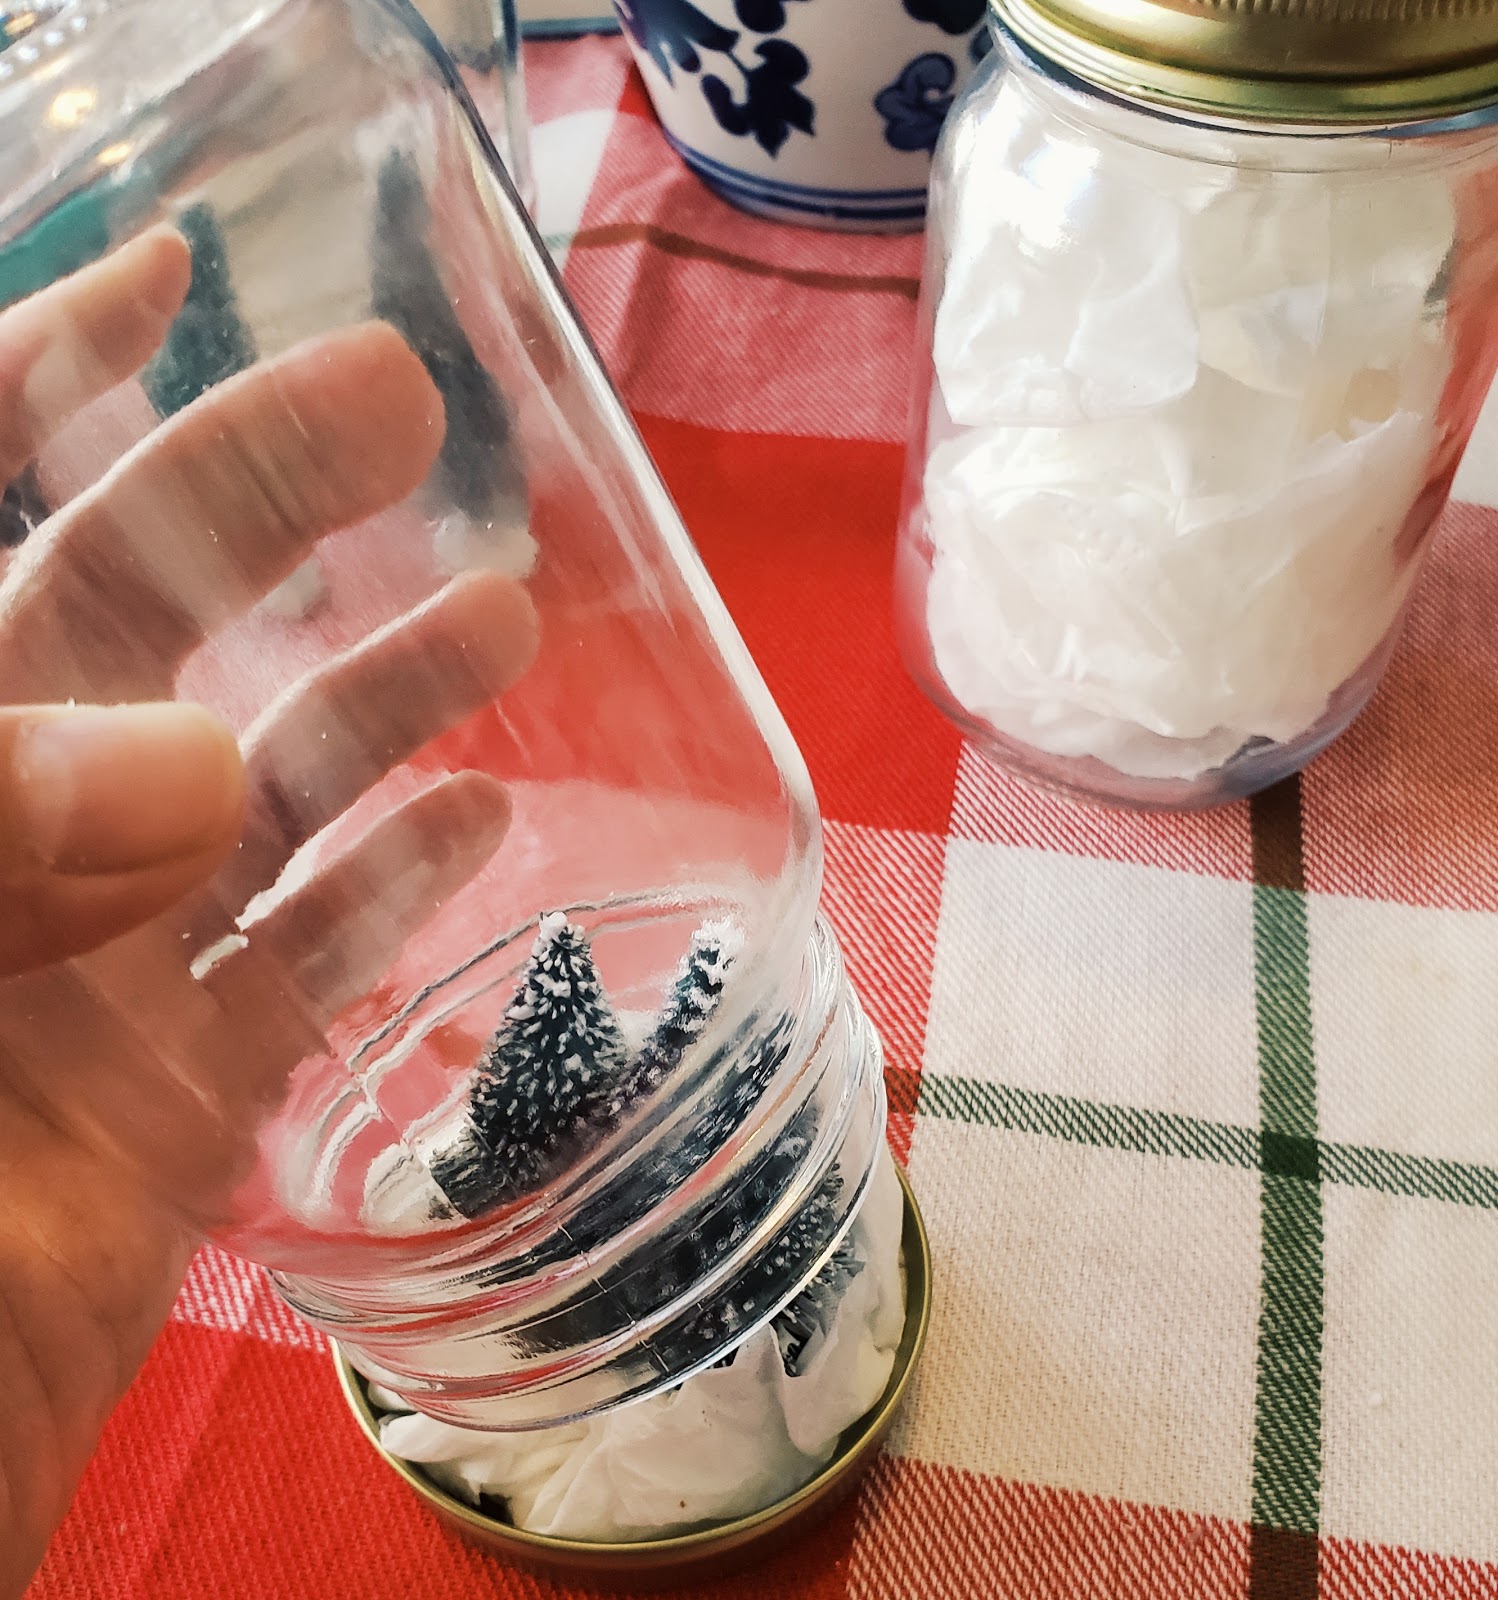
Take a tissue and scrunch up to wrap around the trees. Take the glass jar and secure it onto the lid upside down by twisting, ensuring everything, including tissue, is inside the jar.
Optional detail: Take the mason jar right side up and dump a cup of white or silver glitter into the jar. Take the lid with tissue and twist onto the jar, and then flip the jar upside down to complete the snow globe!
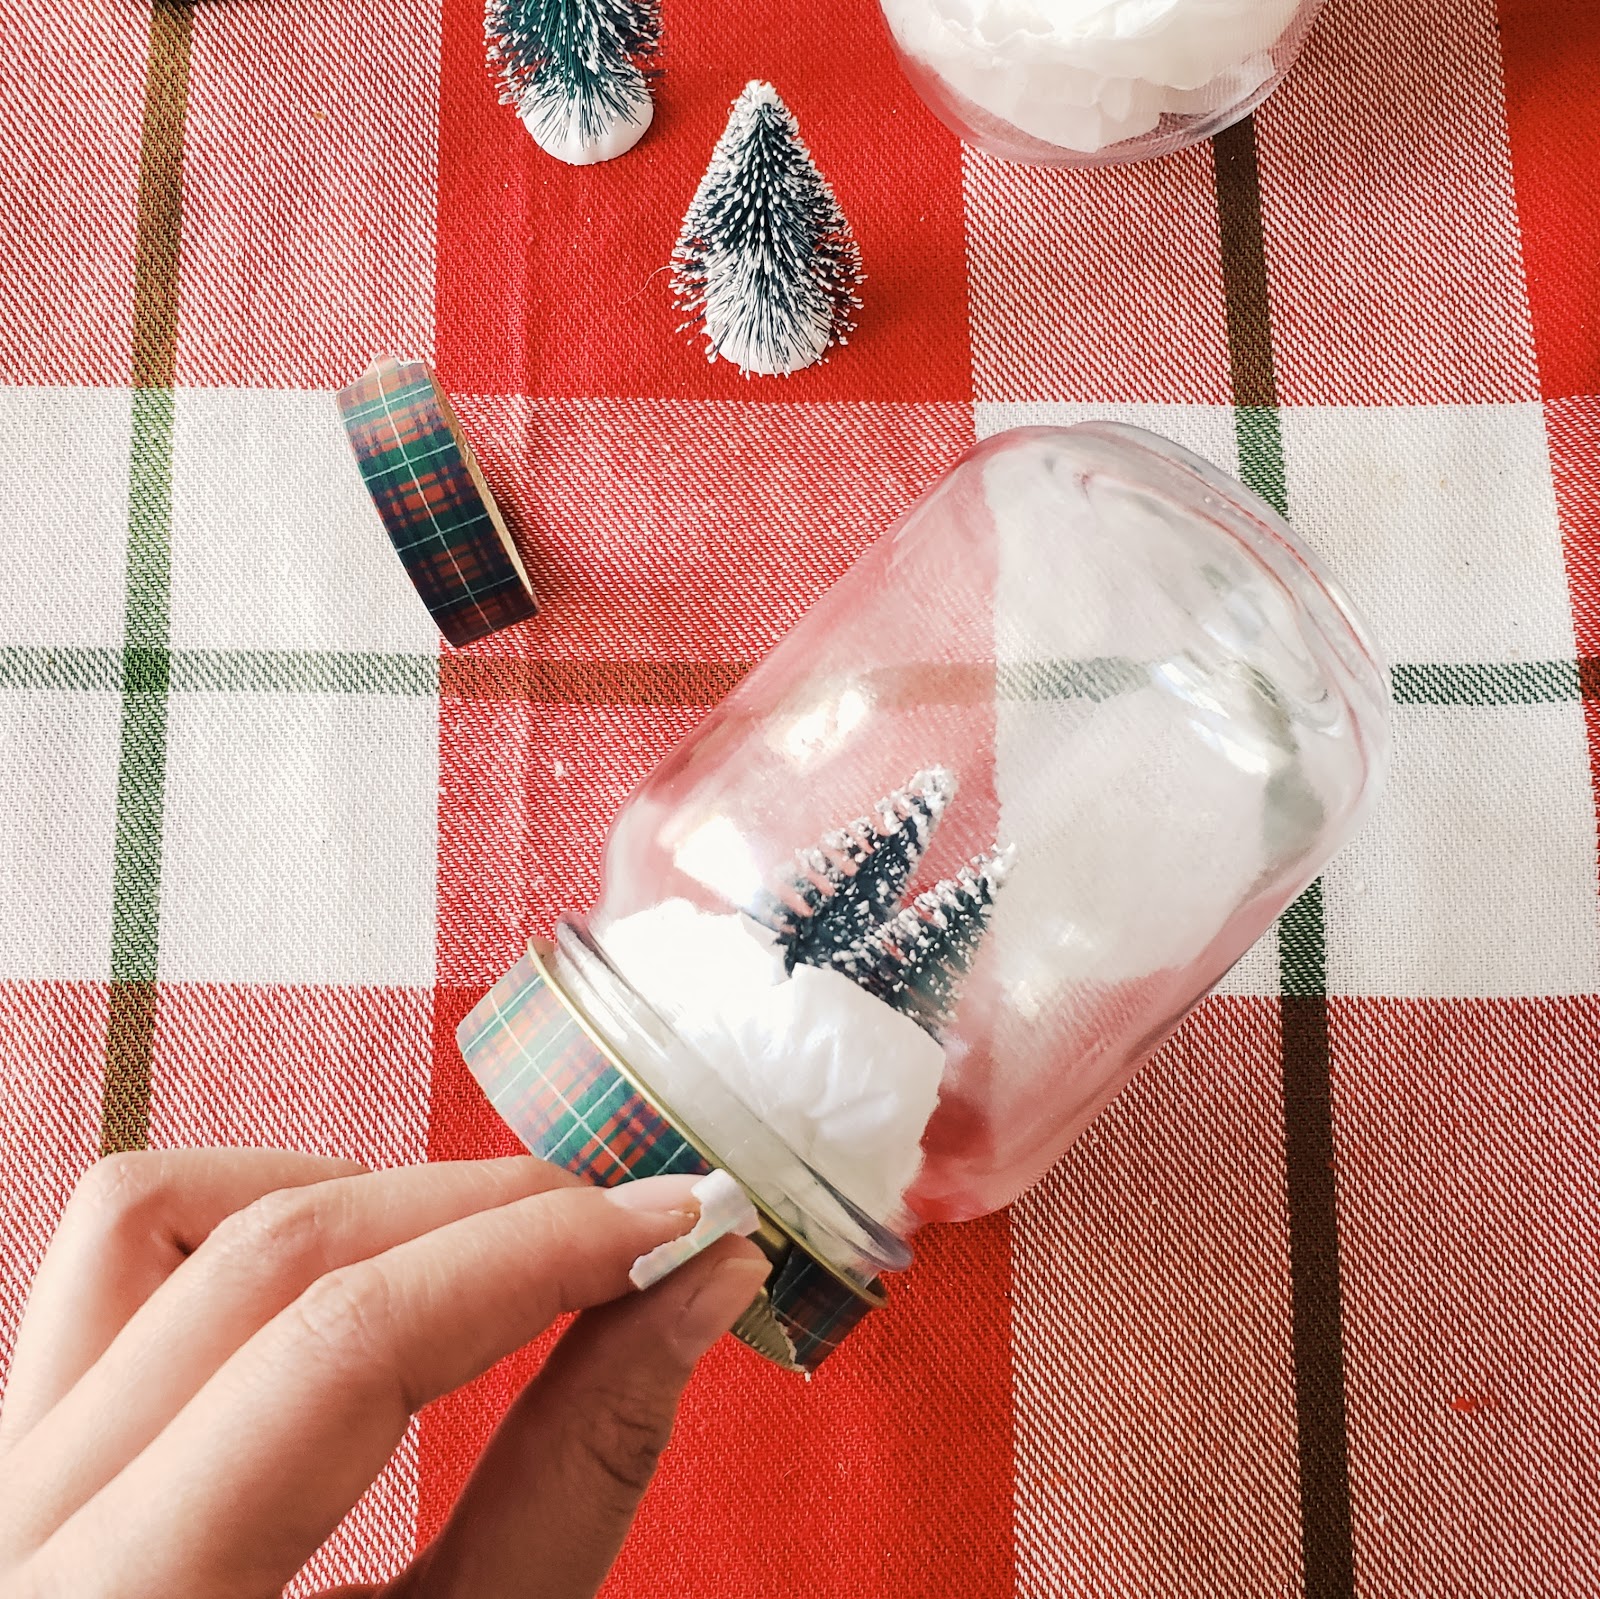
Step 4:
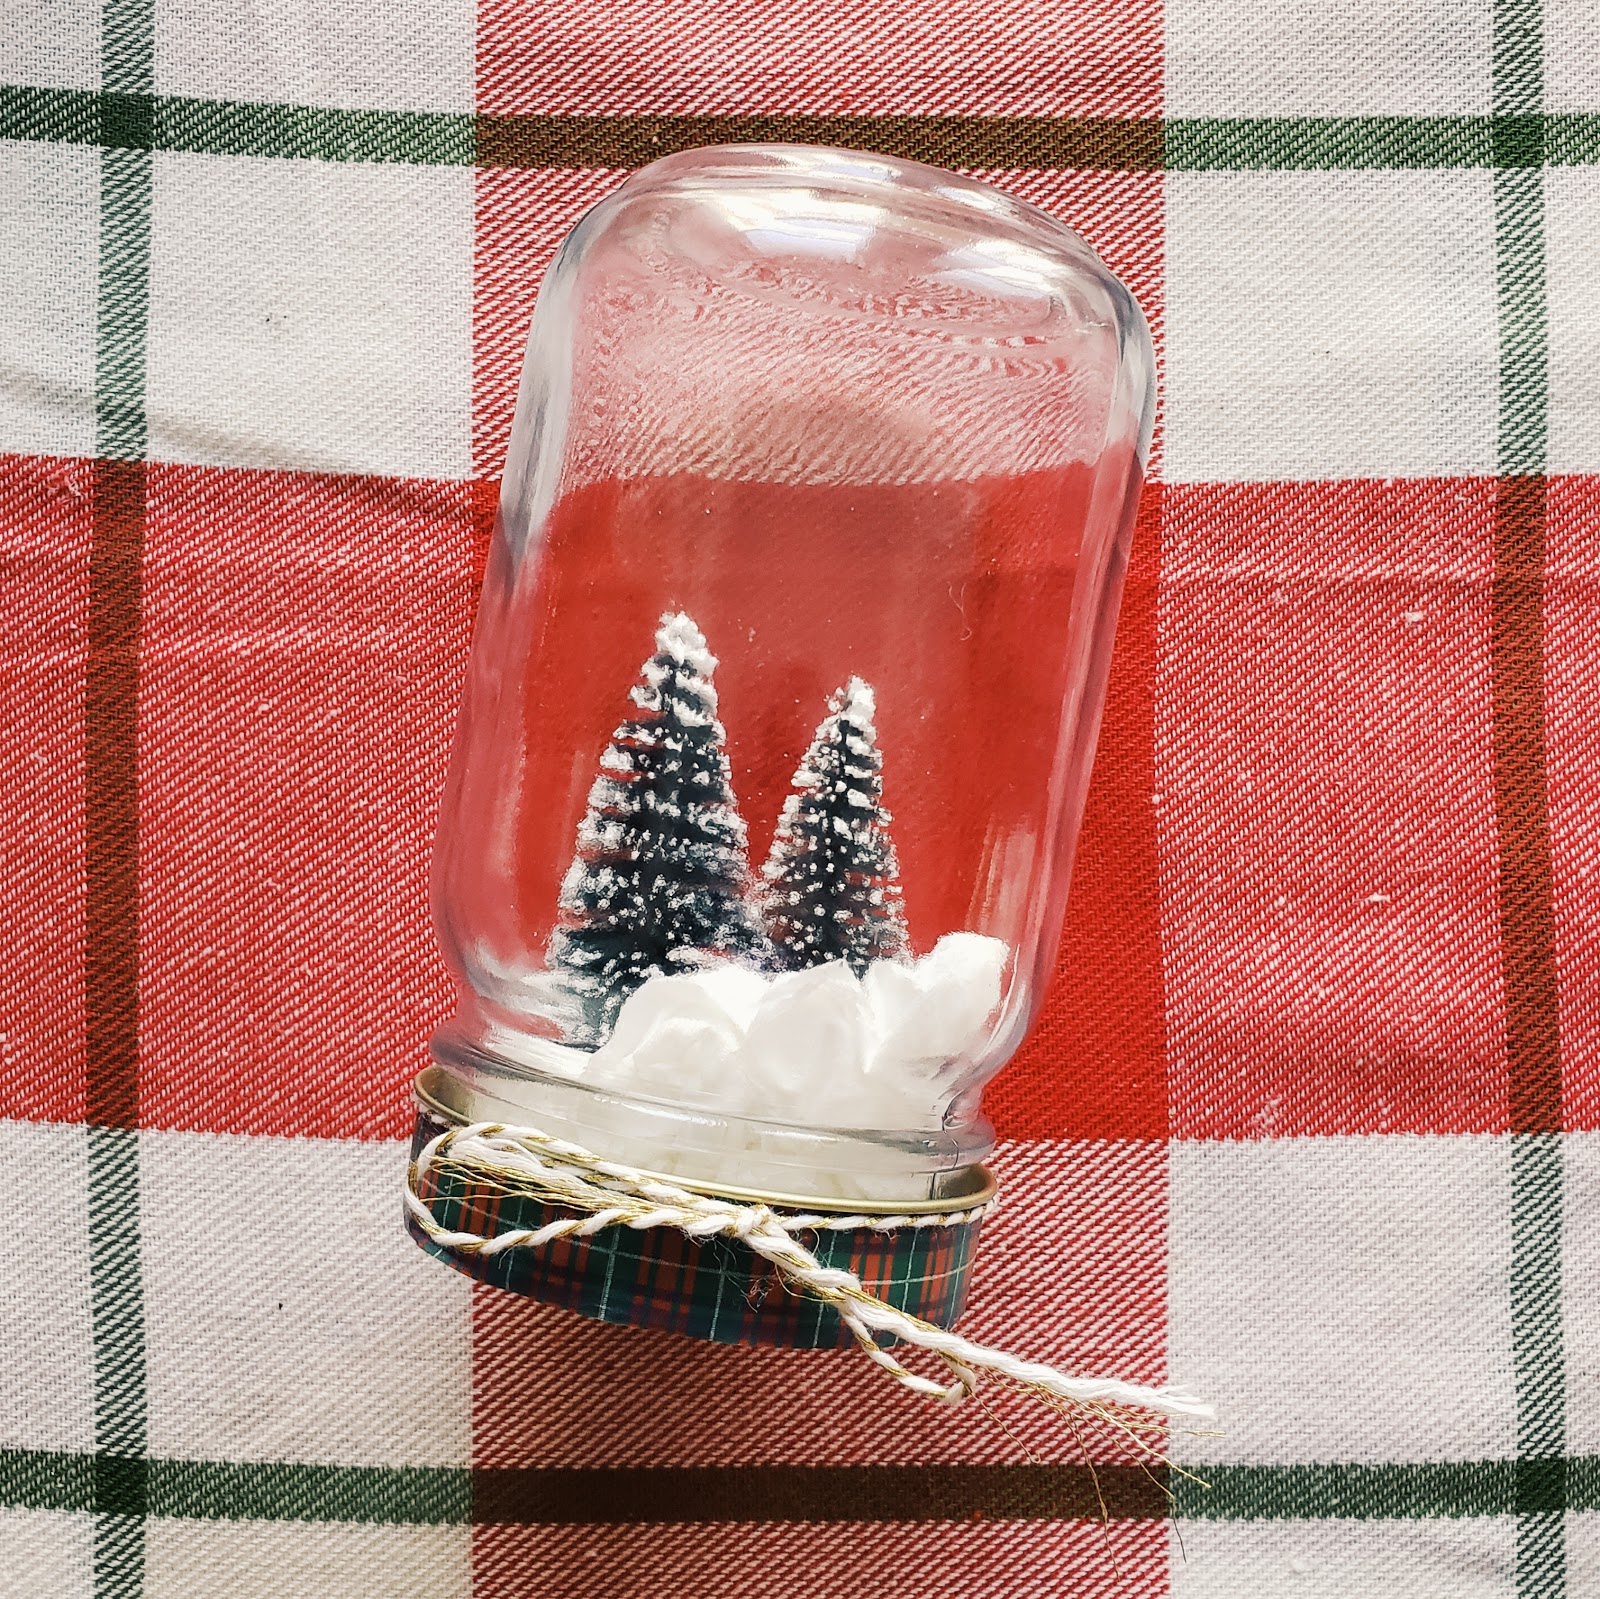
Adorn the outside of the globe with tape around the lid. Then tie off with some twine into a bow over the lid. Place around the home for instant joy and cheer!
You did it! Ahhh, doesn’t it look marvelous? Where has your snow globe scene taken you?
Share with us in the comments below what Wish snow globe memory you crafted.
Need some more inspiration? Head over to our Holiday section and feel the Christmas spirit come alive.
Wishing you the best this holiday season 🎄
